Change Propshaft
2010 LAND ROVER RANGE ROVER
The first step was to reverse the car up on to ramps and lock the suspension in high mode with the gap tool. Don't skip this bit as the car will adjust its stance and lower the suspension after a minute or two. In the best case this will reduce the space you have and in the worst case it'll make you jump and swear ;)
After that you need to remove the exhaust. Don't be tempted to just detach the bushes at the back and let it swing down. I think that this will put pressure on the flexible sections and they're attached to the section that goes to the turbos and contains (I think) cats so you don't want to break them. Before removing any bushes, undo the clamp nuts and if they feel like they're going to stretch, bend, snap then stop and order some more before continuing . Once you've got the clamps off you can remove one pair of the bushes at the back, then remove the ones at the front and finally remove the last pair at the back and lower to the floor. The system is relatively heavy so don't do this unless you're confident you can lower it and, more importantly, lift it back up. You could use axle stands and a jack if you this it will help you. Please don't drop it on your face.
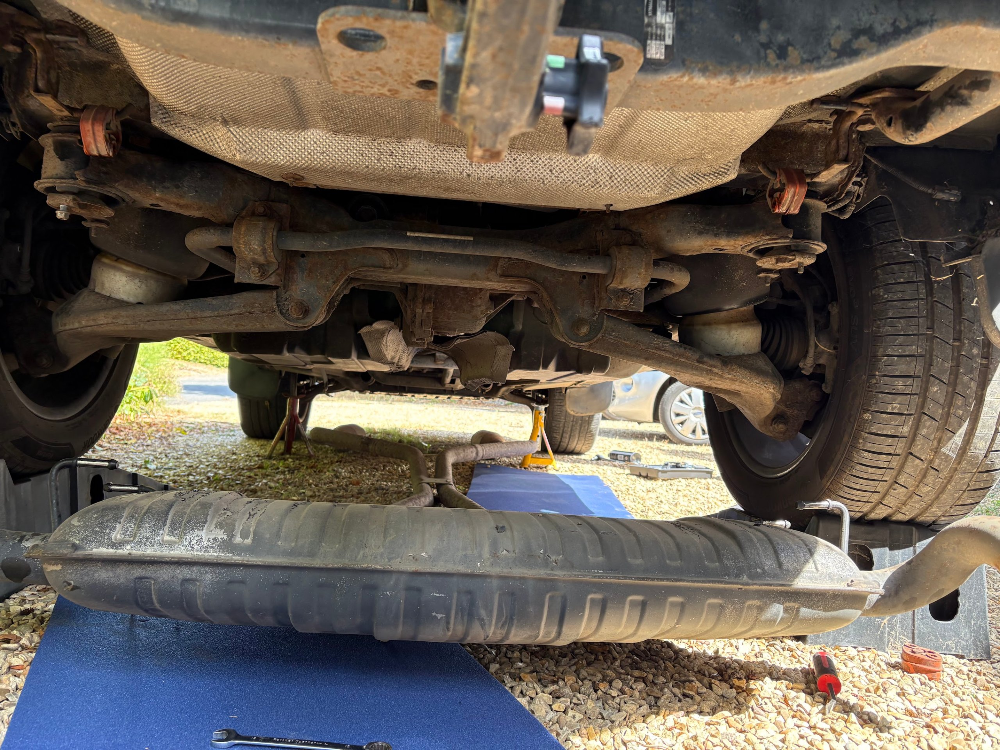
You can slide the exhaust to one side to give you room and the next step is to remove the heatshields to expose the prop shaft.
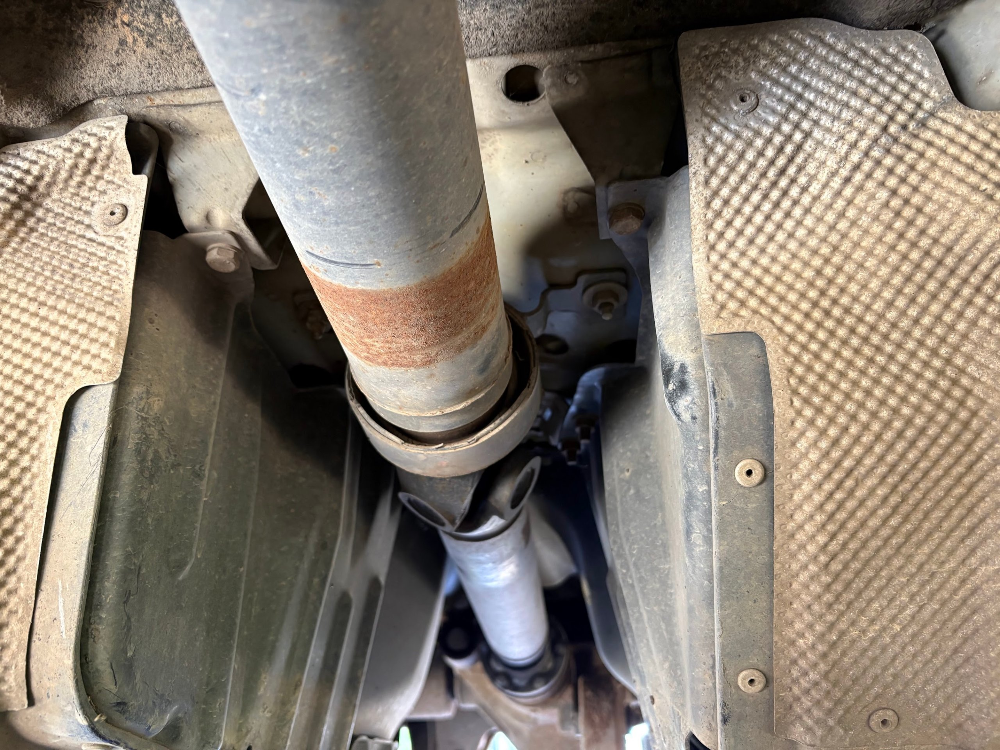
Now you want to loosen the bolts for the carrier and at both ends of the propshaft. You will need a star socket for the cv joint bolts. Only if you're sure that all the bolts will come out should you start to try and remove the cv joints from the transfer box and the diff. If you've started at one end by removing the cv joint and then find out that a bolt won't shift or snaps then that will be a bad day. Do not remove the nuts that hold the carrier until you have freed the cvs joints from their flanges in order to stop the propshaft from landing on your face/head/arms/iphone/etc.
I found that both my cvs joints were badly stuck in to the diff flange and the transfer box flange. I had to use a lump hammer and a drift to remove them. This didn't break the cv joints but if you have to go this route then try not to smash up the thin metal bearing cover. I didn't manage to do that but I convinced myself it was fine as I had found play in the cv joints.
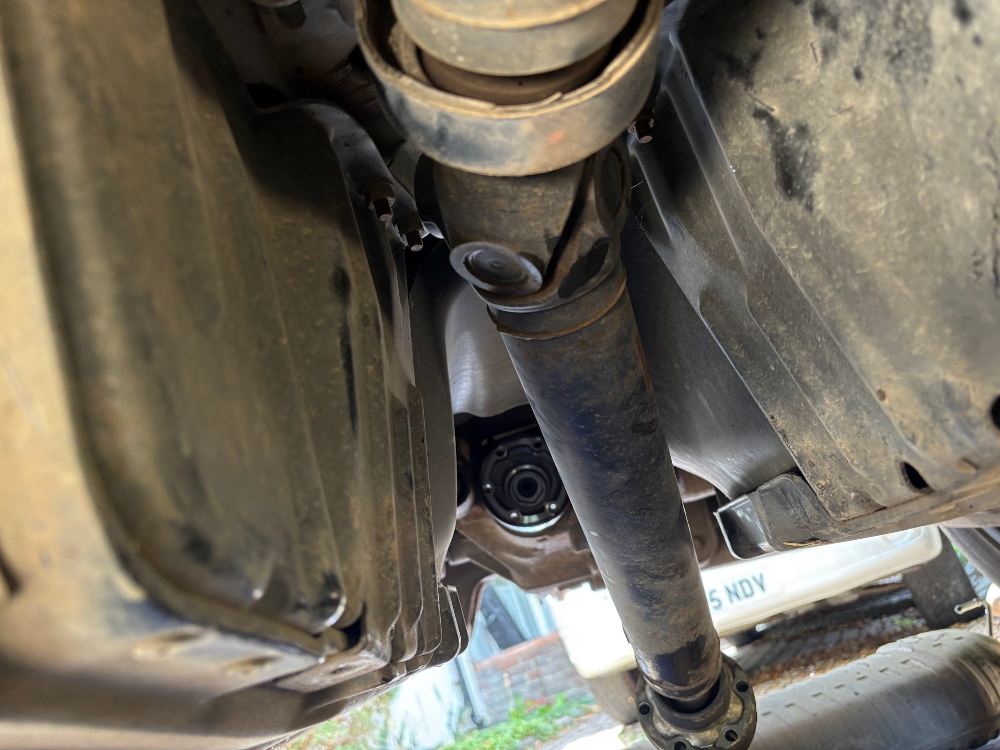
Lower the propshaft out of the car carefully once you have removed the carrier bearing nuts. Without meaning to sound glib... reassembly really is the reversal of disassembly in this instance. The only thing you need to be aware of is that the propshaft is centred in its longitudinal travel fore and aft. You'll be able to slide it back and forth and see what I mean. With it in the middle of the travel the centre bearing bracket was pretty much central in the slots that the bolts go through. The important thing though is that you don't place stress on the bearing carrier bush by having the propshaft all the way forwards or backwards in its travel when you tighten the carrier nuts.
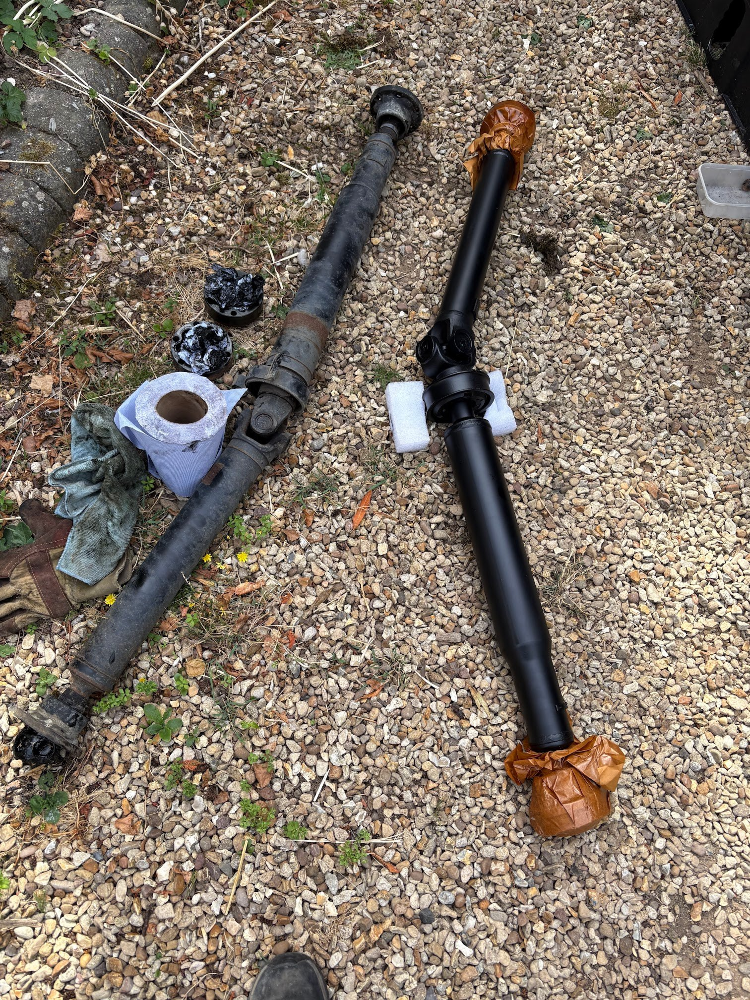
Then go for a drive and try not to worry about the driveline lash that still exists in the diff, transfer box, gearbox or any one of the driveshafts ;)